Footer Ads
Using Footer Ads
One of our top performing placements, the Footer loads at the bottom of the screen and remains visible as the user scrolls. While scrolling down the page, the footer ad appears without affecting the background content.
Following are the steps used for creating Footer Ads:
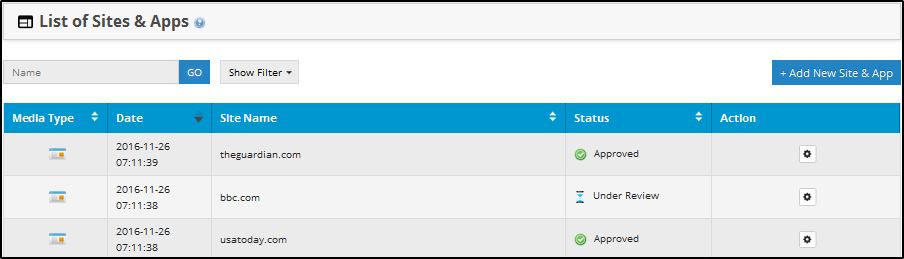
1.Click Sites & Apps Management. The List of Sites & Apps is displayed as shown in the following figure:
2.Click Add New Site & App. The Add New Site & App is displayed as shown in the following figure:
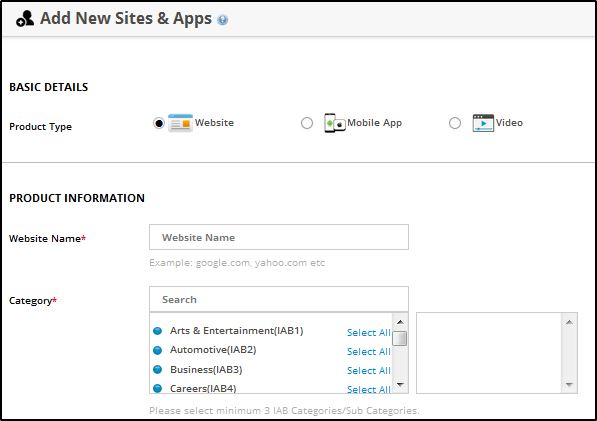
3.Select the Type as Website radio button.
4.Enter the Website Name.
5.Select the Category from the drop-down list box. Scroll the page down.
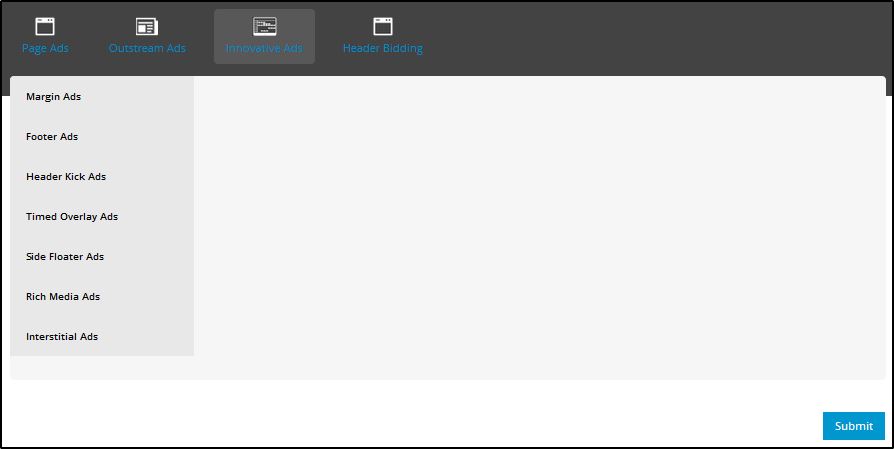
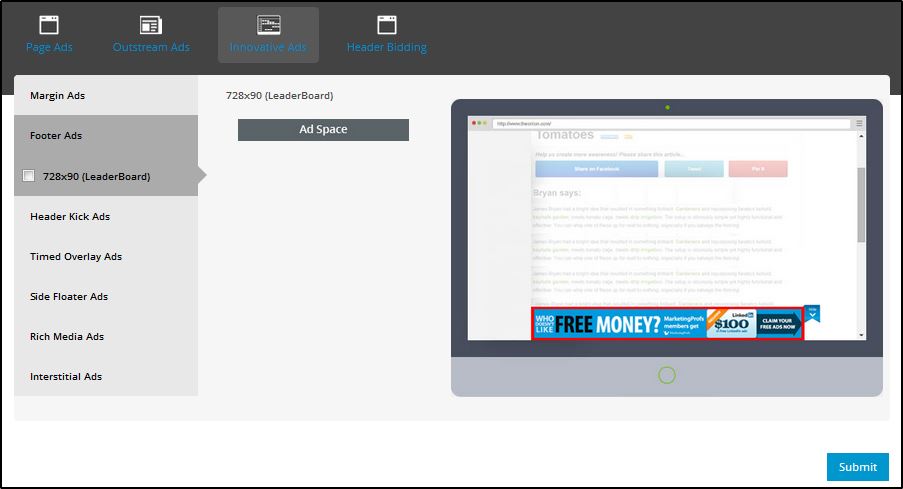
6.Click the Innovative Ads tab as highlighted in the following figure:

The Innovative Ads list will be displayed as shown in the following figure:
7.Click Footer Ads. The Ad space sizes will be displayed as shown in the following figure:
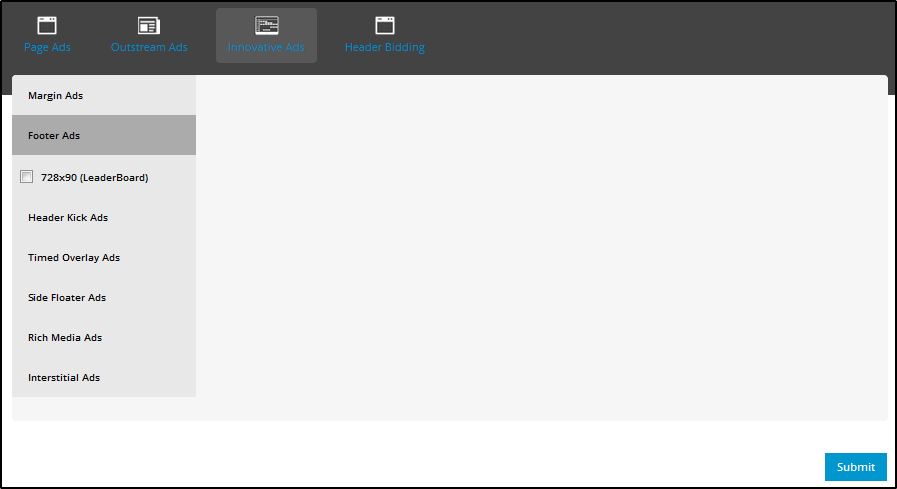
8.The Footer Ads tab displays the Most Popular Sizes: 728×90(Leaderboard).
9.Click the size 728×90(Leaderboard). The Footer ad preview will be displayed as shown in the following figure:
10.Click Submit. The ‘Website added successfully. Your account manager will contact you soon shortly’ message will be displayed.
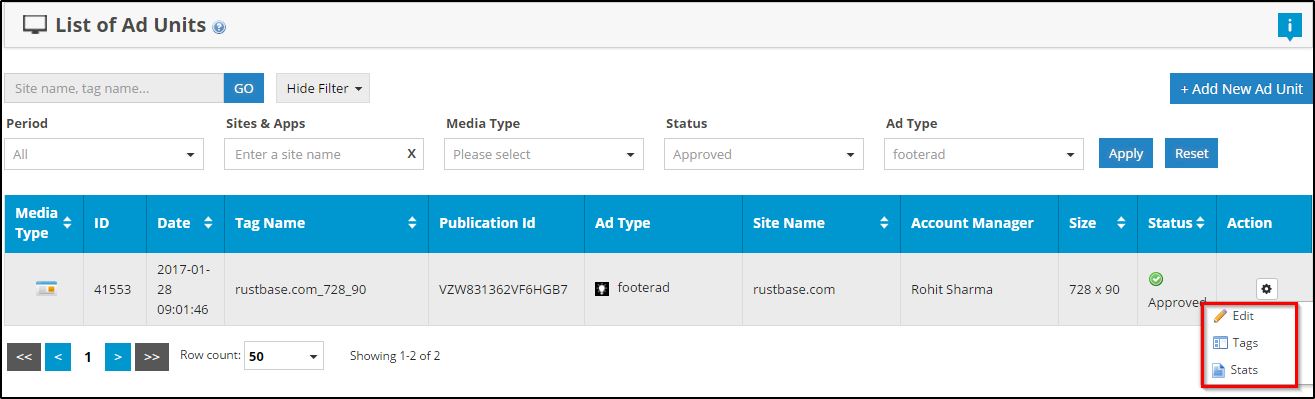
11.Click Ad Unit Management. The List of Ad Units with newly added Footer Ad is displayed.
12.Once the admin approves the Website, then the ad will be displayed on the Website.
13. In the Action field, click Tags icon as shown in the following figure:
Following table describes the list of ad units:
| Parameters | Description |
|
Media Type |
Represents the media type of the ad unit. There are four types of media type: Website, Mobile Web, Mobile App and VAST. |
| ID |
Represents the unique Id of the ad unit. |
|
Date |
Represents the date and time of the ad unit. |
|
Tag Name |
Represents the tag name of the ad unit. |
|
Publication Id |
Represents the publication Id of the ad unit. |
|
Ad Type |
Represents the ad type of the ad unit. |
|
Site Name |
Represents the site name of the ad unit. |
|
Account Manager |
Represents the name of the account manager. |
|
Size |
Represents the size of the ad unit. |
|
Status |
Represents the status of the ad unit. There are five types of status: Approved, Hold, Rejected, Suspended and Under Review. |
|
Action |
Performs the action on the ad unit. There are three types of actions: Edit, Tags and Stats. |
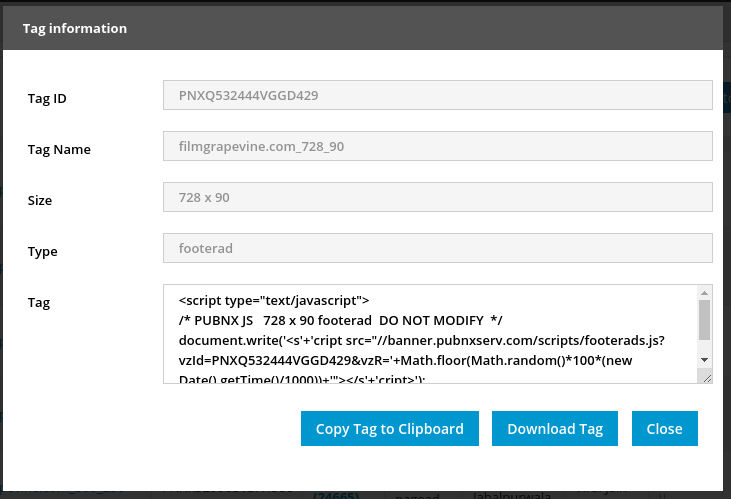
The Tag Information window is displayed as shown in the following figure:
Following table describes the Tag details:
| Parameters | Description |
|
Tag ID |
Represents the Tag Id. |
| Tag Name |
Represents the Tag name. |
|
Size |
Represents the size of the Tag. |
|
Type |
Represents type of the tag. |
|
Tag |
Represents the tag script. |
14. Copy the Tag and paste into your site and then you can check your ad on the site.15. The ad will be displayed.
16. Open the Website where the Footer ad should be displayed. Scroll the Web page, the Footer Ad will be displayed. Following figure is an example of a Footer Ad:
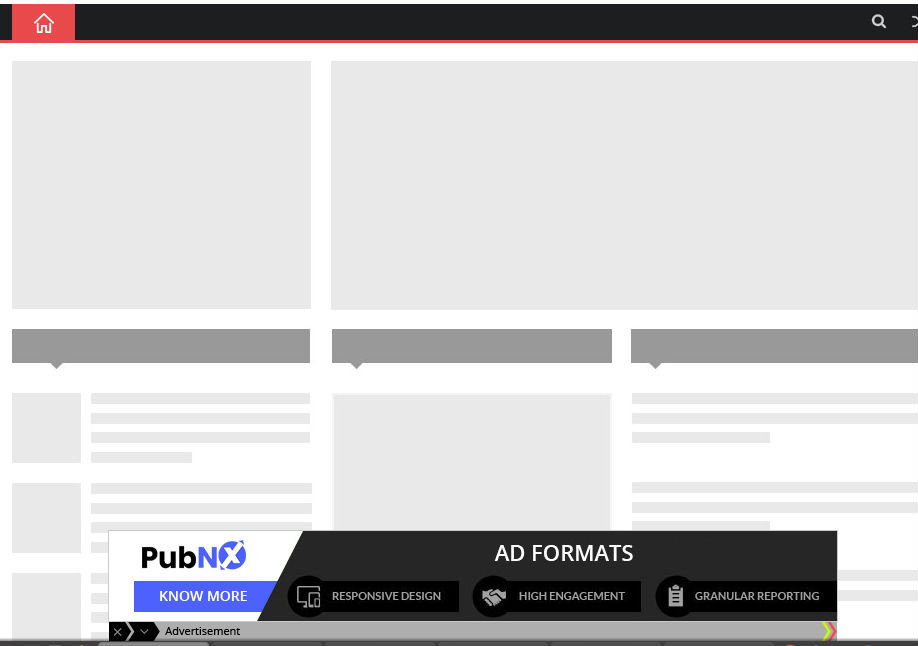
The Footer Ad is displayed on the base of the Website.
Where to place tag in the Website?
You need to place this tag on the header of the publishers web page.
Supported sizes:
728×90(Leaderboard)